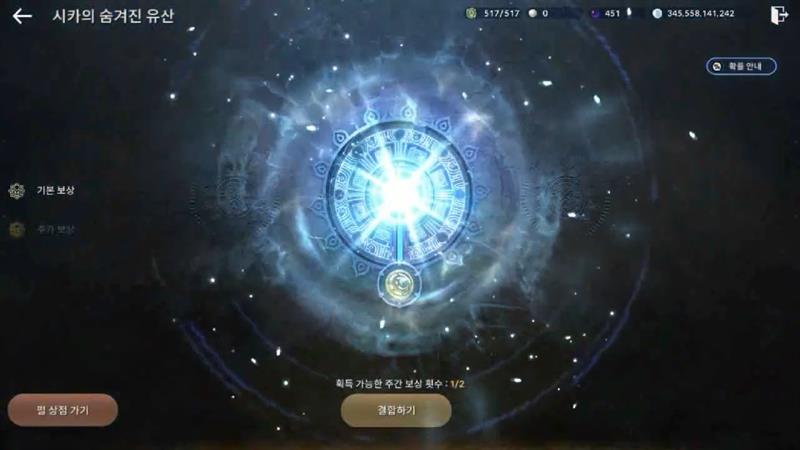
In two weeks (August 12) we will be able to visit another Atoraxxion stronghold, this time under the name "Sycrakea" Link: Frst information
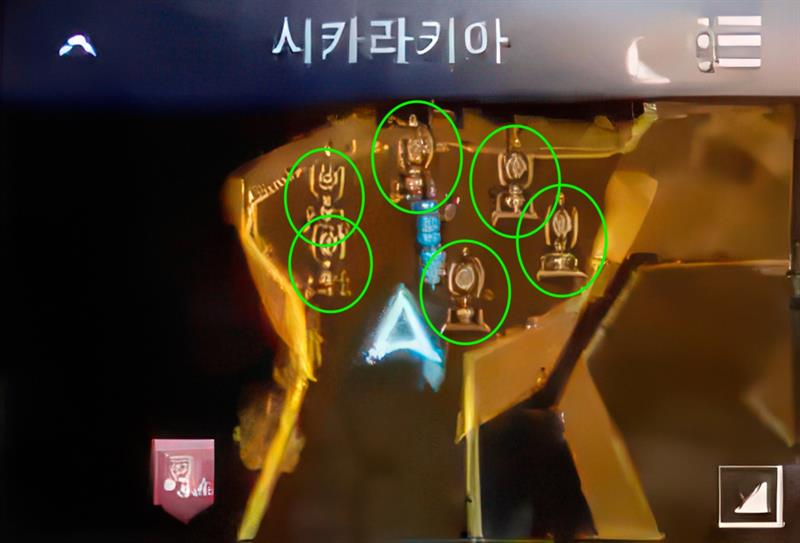
Atoraxxion: Sycrakea
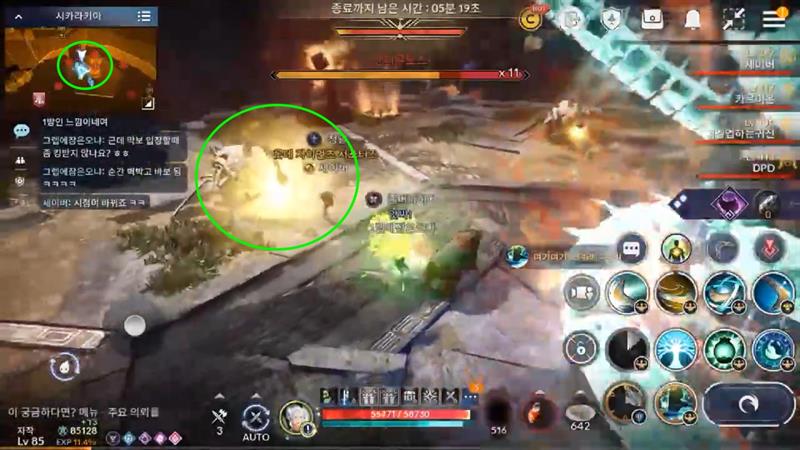
You have to go through 5 gates before you reach the final battle.
Times: The tasks before the final duel are not significantly timed (the limit for completing Atoraxxion is 1 hour) The final duel must be completed within 7 minutes.
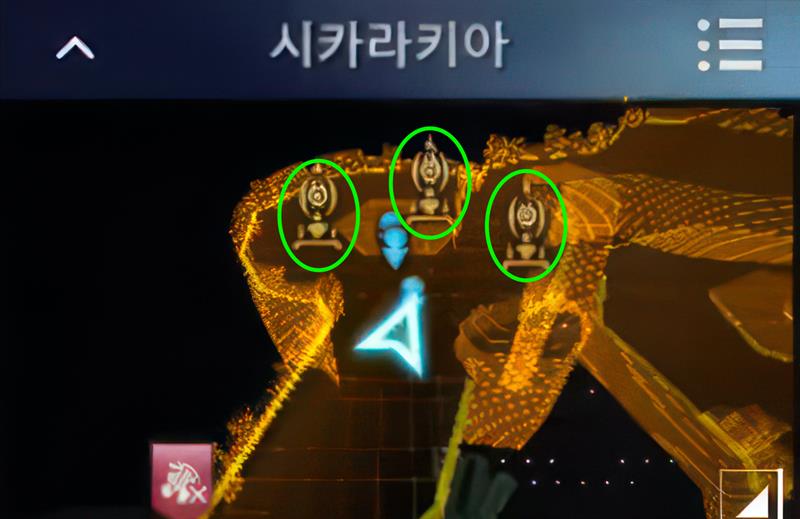
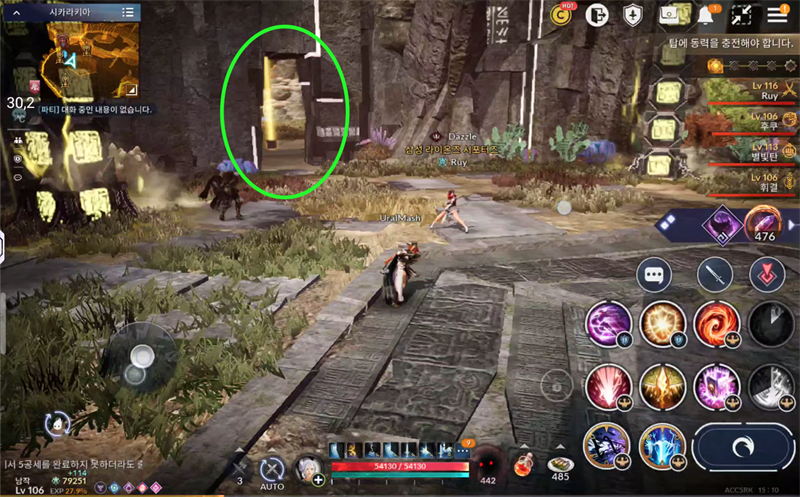
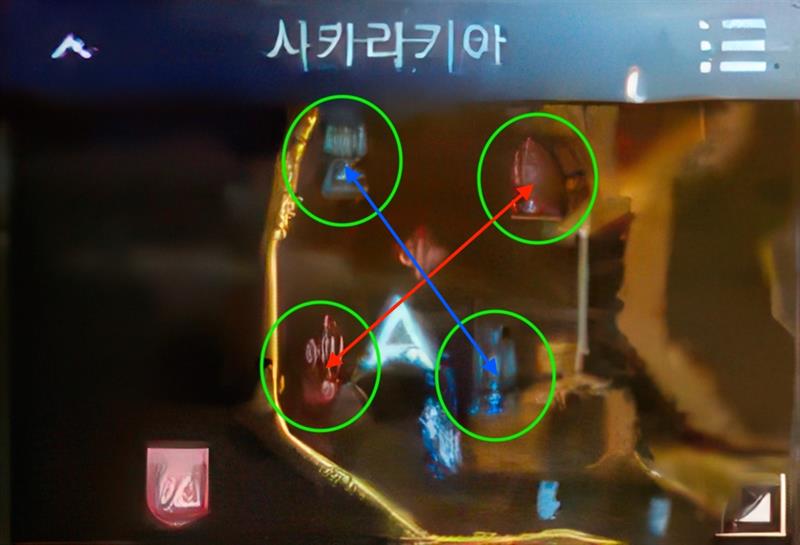
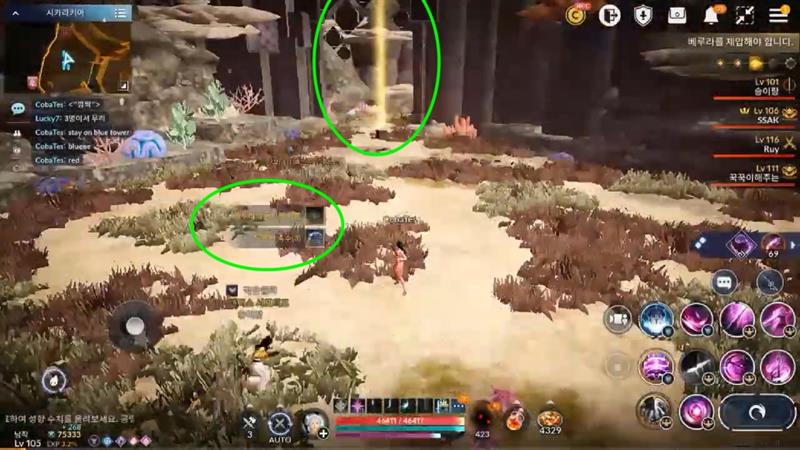
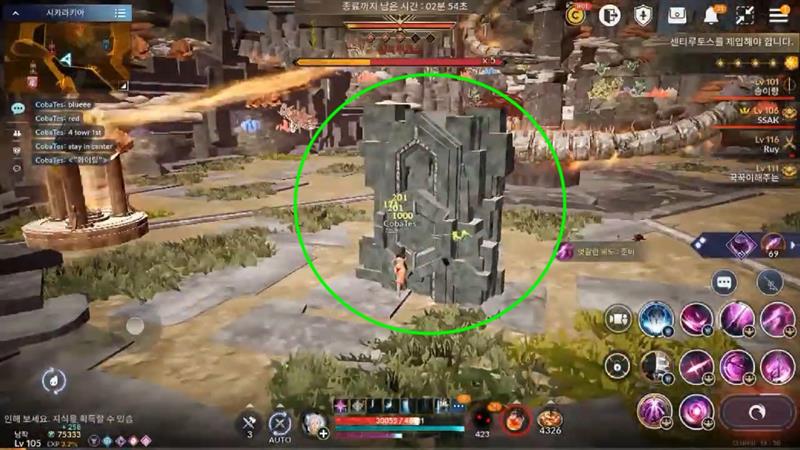
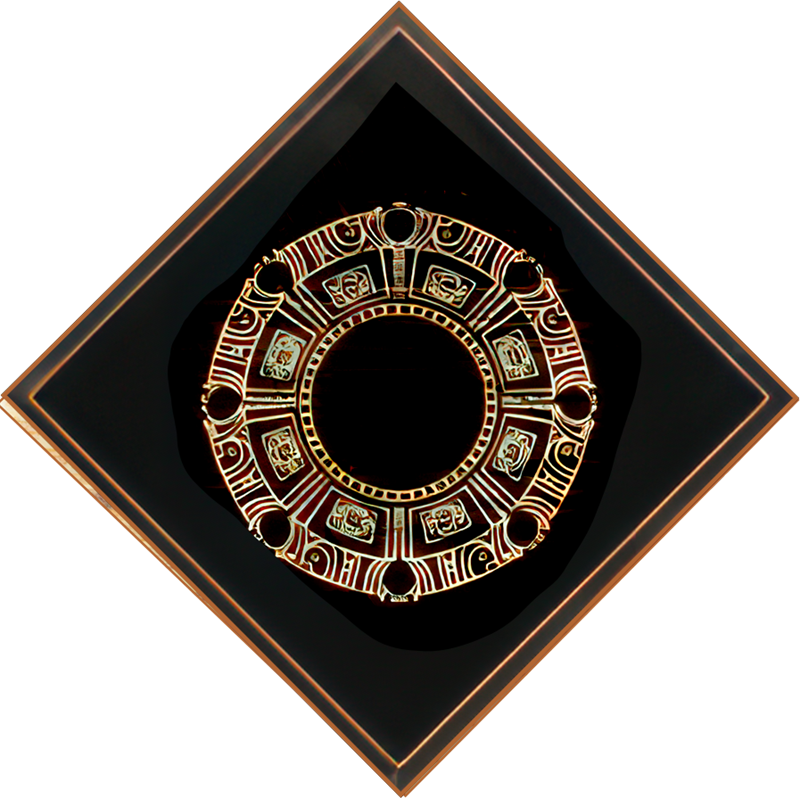
1st gate (easy)
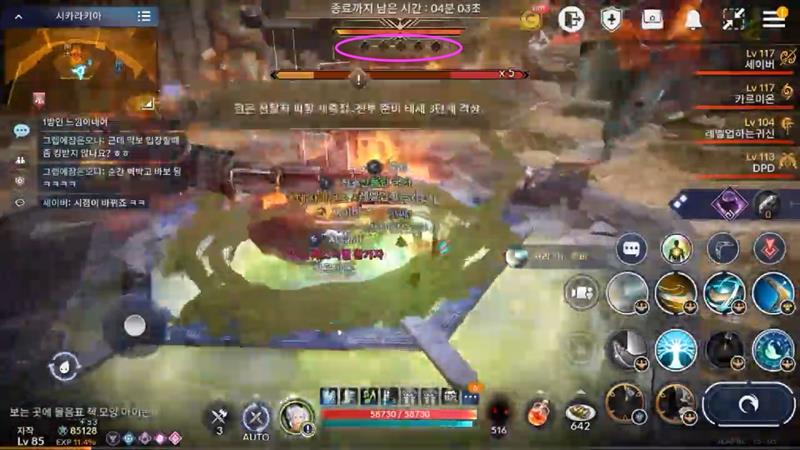
3 pillars -> activation of lights 3x5 lights
place the "red sight" directly on the pillar
(probably -> to the light field location)
-> the pillar will light up <-
(to activate the lights it may be enough to be very close to the pole
-> in the activation zone (?)
note: If you aim the red sight outside the pillar,
the lights will not activate
1st gate will unlock after all lights are activated
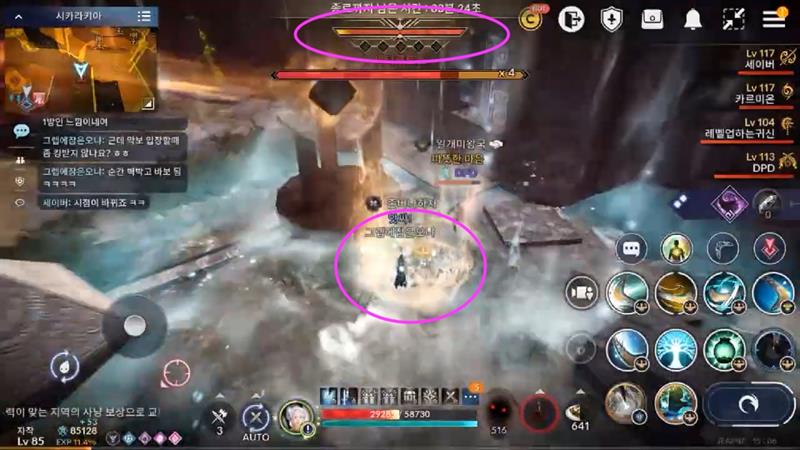
2st gate (?)
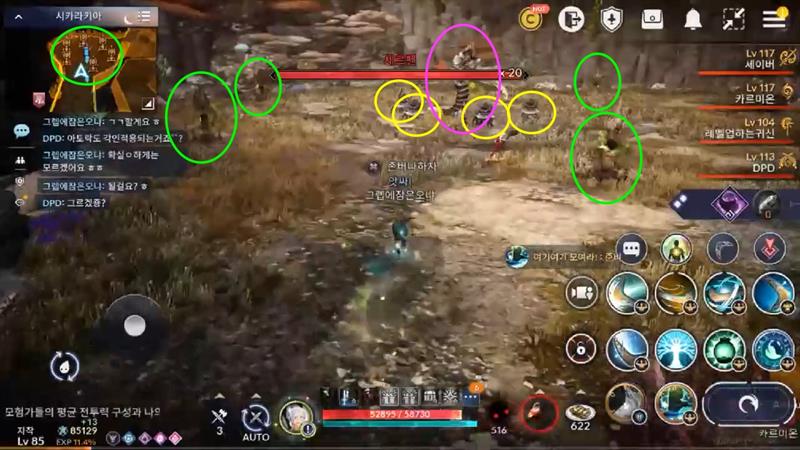
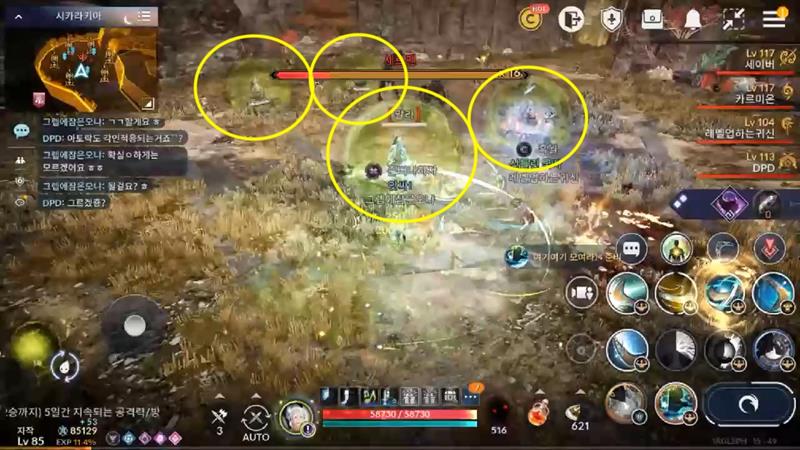
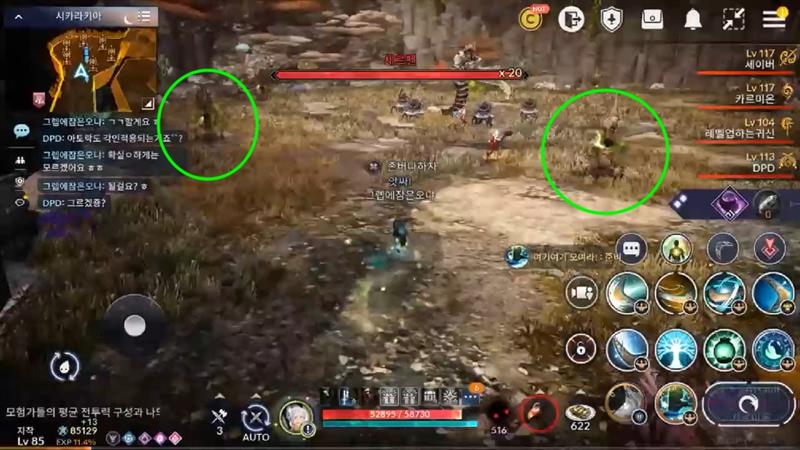
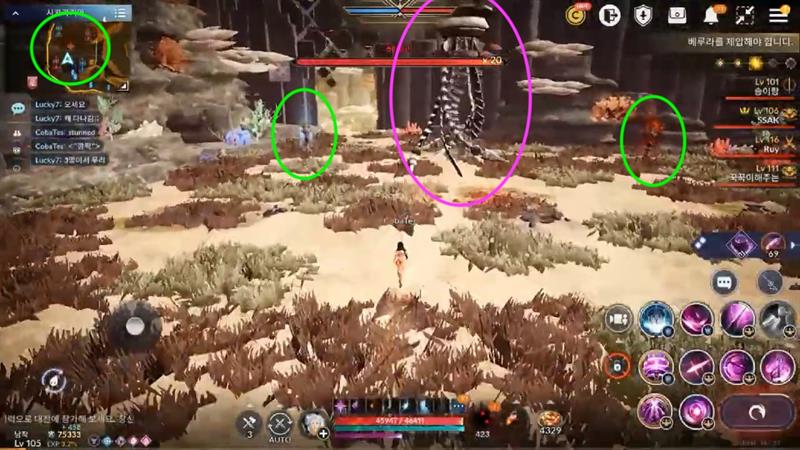
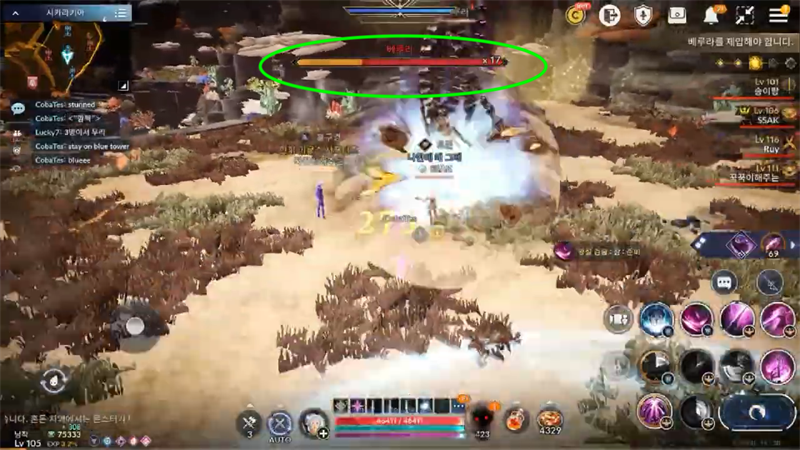
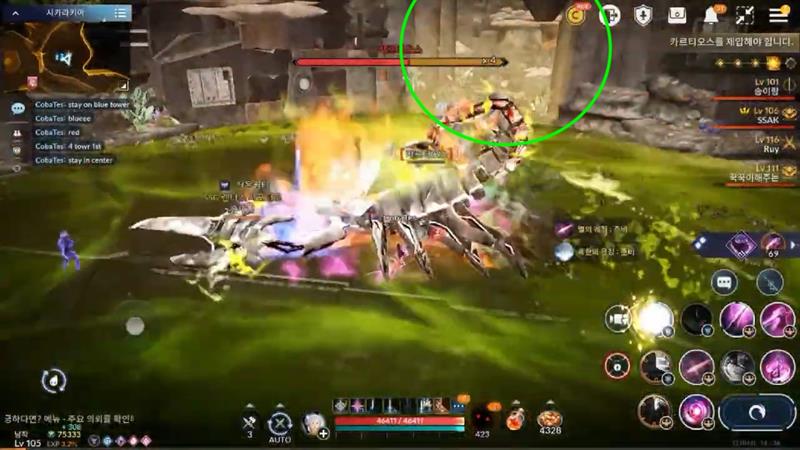
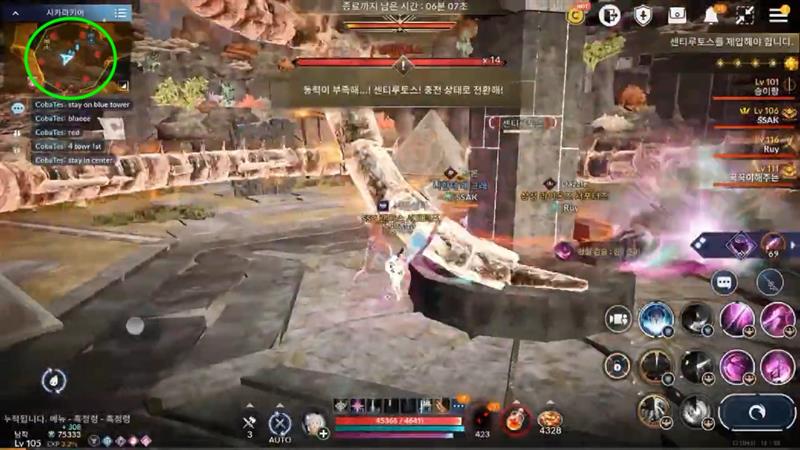
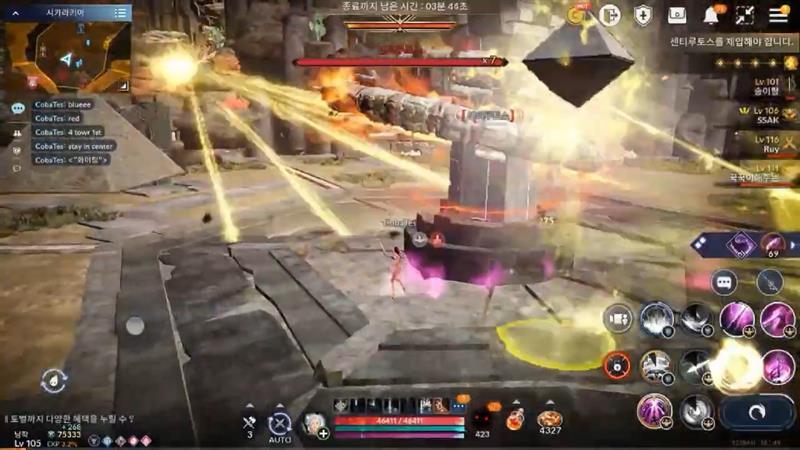
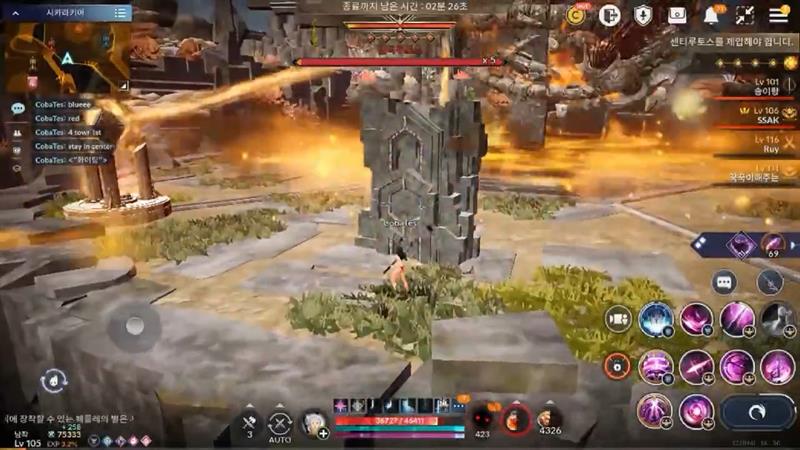
1 Boss + 4 guards + 6 small towers
There are two options:
1. not thinking and destroying the Boss with brute force
-> slow and painful
2. think and destroy the Boss in a slightly different way (1)
-> probably faster and less painful
notes:
1) the Boss is vulnerable and cannot heal
2) the defender is invulnerable after the attack if he has a protective dome above him
3) 6 small towers are not in place "by mistake"
theory:
1. it is possible that after eliminating the defenders, the Boss will be weakened and more vulnerable
2. it is possible that after attacking the defender, the defender will (slowly) chase you
3. it is possible that if you lead the defender to the small tower, the tower will eliminate the defender and you will be able to attack the Boss more effectively
(if the guardian's protective dome is made of explosive material that can be destroyed (ignited) by the greenish lightning of the towers)
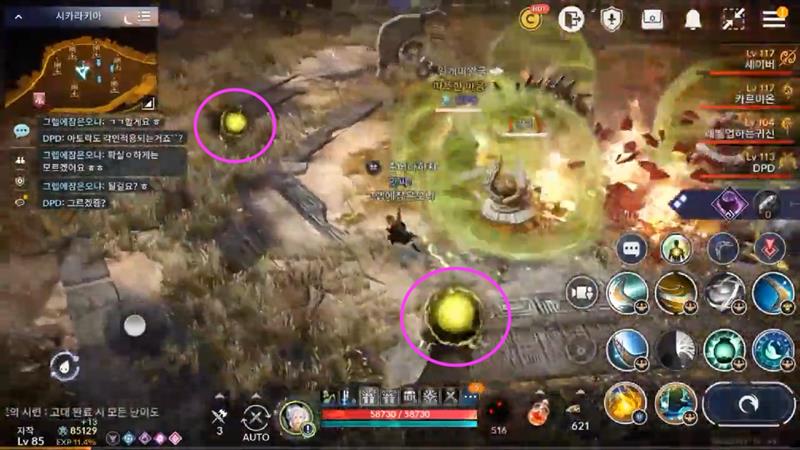
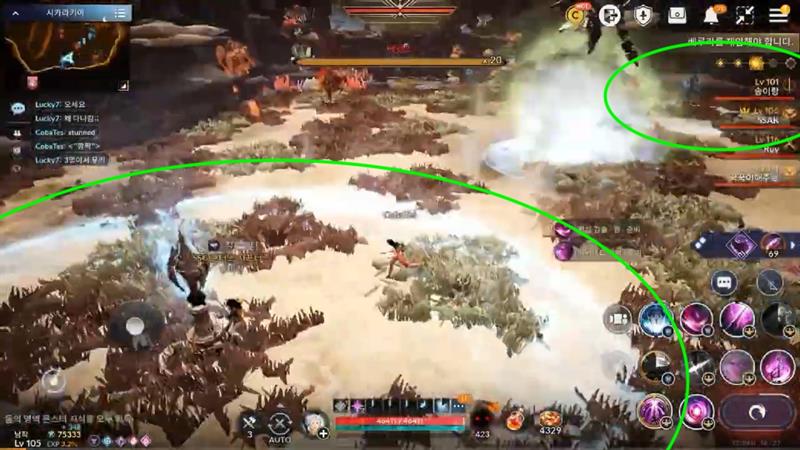
defenders in the invulnerable phase
6 towers bursting with greenish lightning
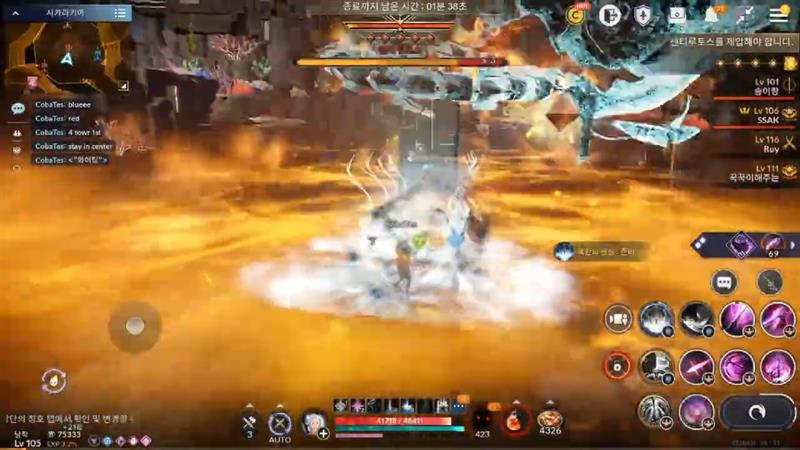
Avoid the color-coded zones and floating green balls,
they cause a lot of damage
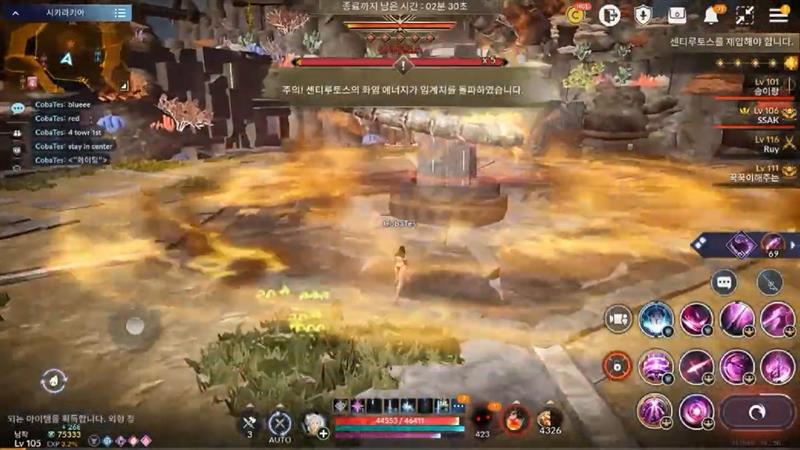
2sh gate unlocks after eliminating the Boss
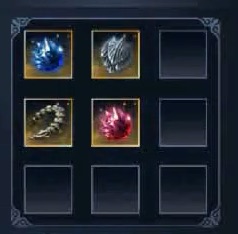
Each time you unlock a gate, you will receive the necessary items
(for a key or for your collection)
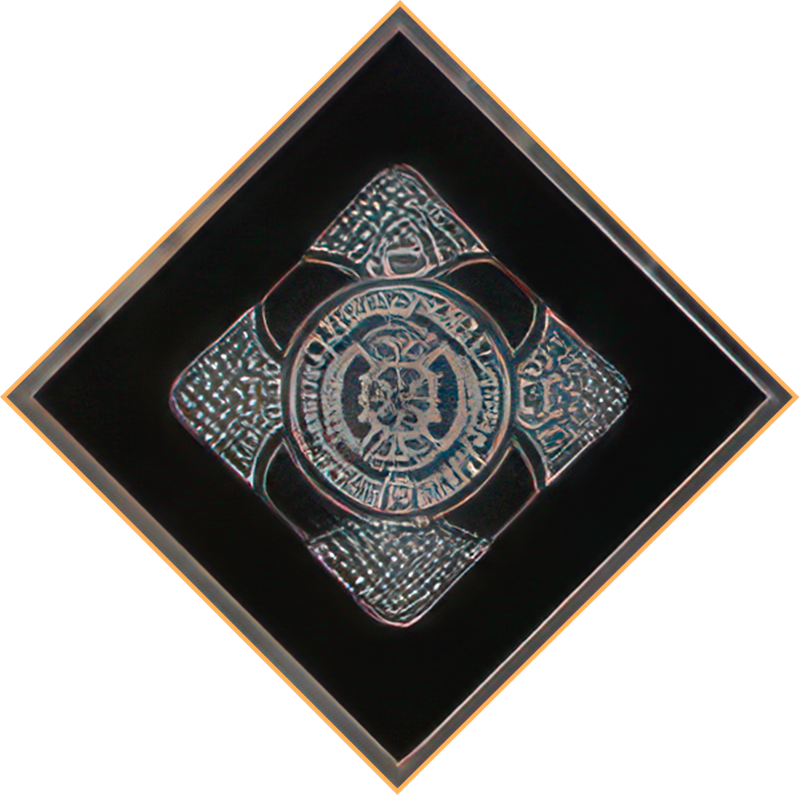
3st gate (easy)
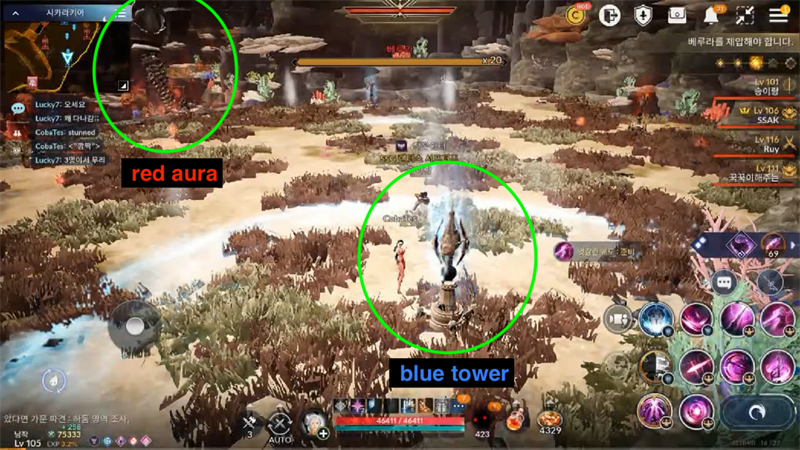
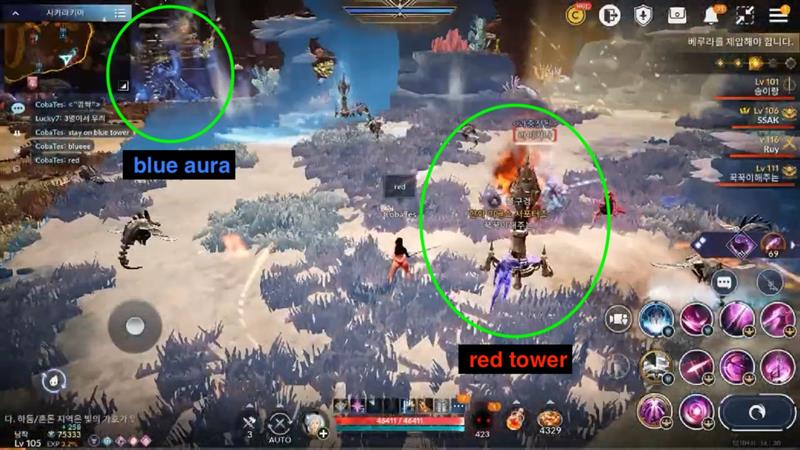
1 Boss + 2 red Towers + 2 blue Towers + 2 Avatar
after you prepare the Boss by 1 Lv of life energy, the Boss will send his "Avatar" into the arena and go to rest
The active Avatar (blue or red)
is indicated by the color of its aura (blue or red).
Choose a tower of a different color where you will destroy the monsters (in the white marked field) that the Avatar will send at you
the Boss Avatar emits a colored energy aura (red or blue) -> use towers that have a different color against him
RED Avatar -> BLUE Towers (x2)
BLUE Avatar -> RED Tovers (x2)
Once you eliminate all the monsters that the Avatar (Red) sends at you in the marked circles around 2 opposing towers (blue), the towers will start emitting streams of energy that damage the Avatar until it is finished.
So it is logical that you have to split up and "clean up" in two places at the same time (for two opposing towers of the same color)
theory:
1. the color of the emitted energy that does not match the Avatar's aura damages the Avatar
2. the color of the emitted energy that matches the aura does not damage the Avatar -> maybe it strengthens it (?)
The rested Boss will return and you have the option to deprive him of another Lv of life energy (up to approx. Lv 16)
then he will return to rest and send his next Avatar after you
It is possible that the activated Avatars will not always be in the same "color" order, so focus more on what color the energy auras emit
After eliminating the second Avatar, the rested Boss will return and, since he has no Avatars left, he will stay with you until his sad end.
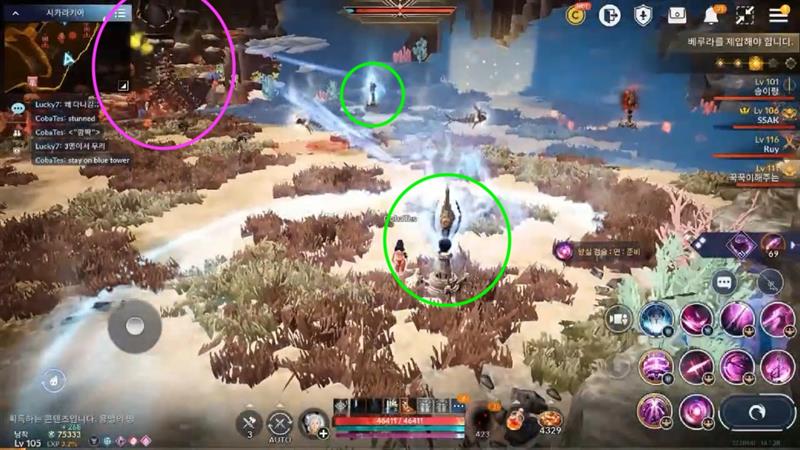
Areas marked in red or blue will appear near the Boss.
If you manage to keep the Boss in the colored area long enough,
energy towers (different colors)
will help you speed up the Boss's torment with their energy.
3st gate unlocks after eliminating the Boss
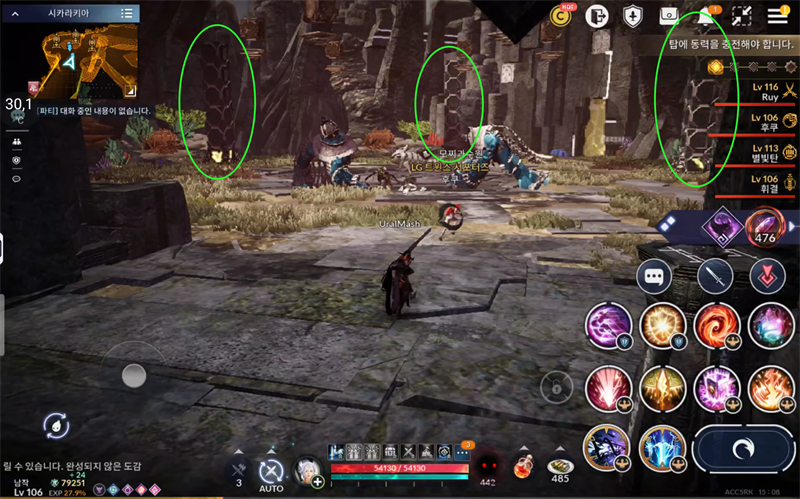
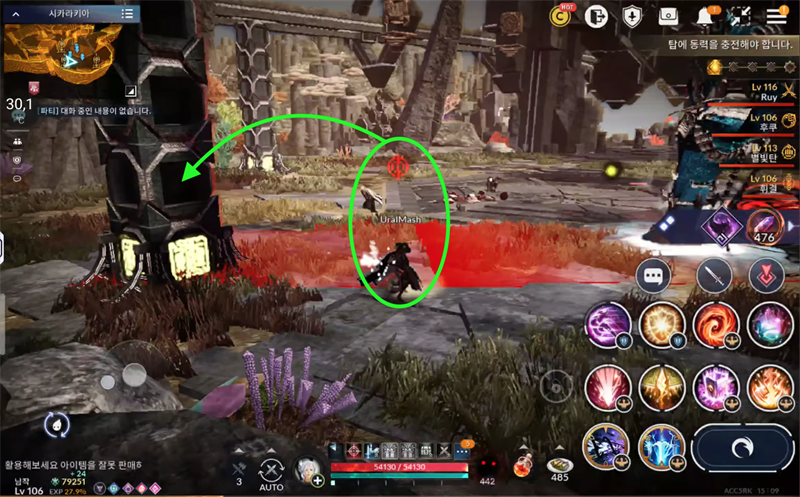
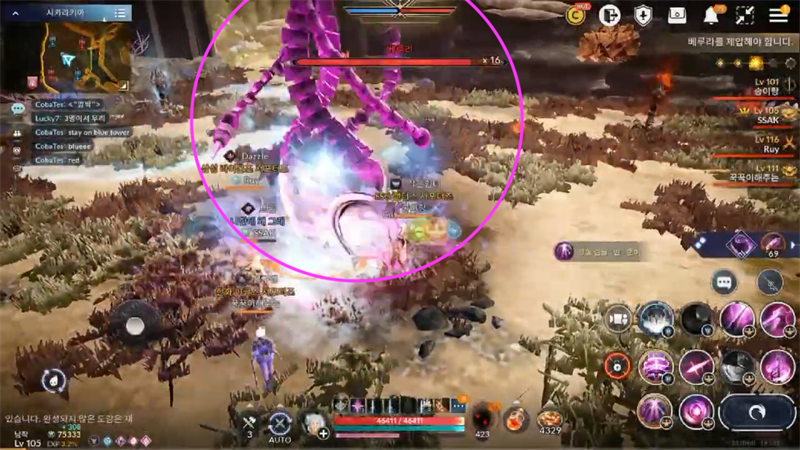
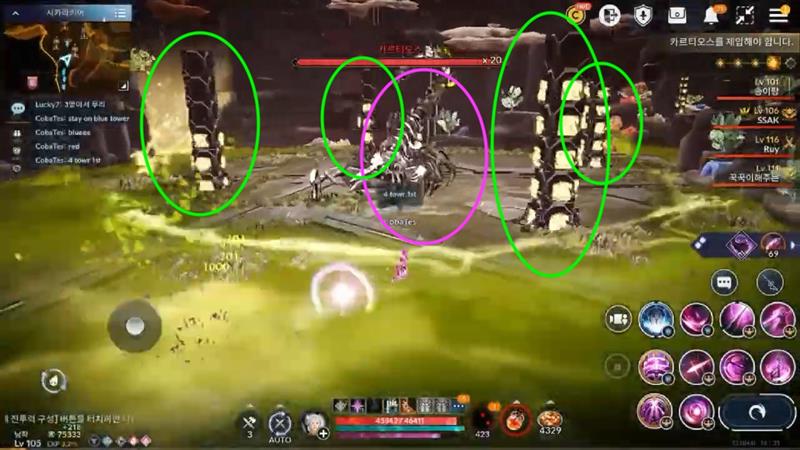
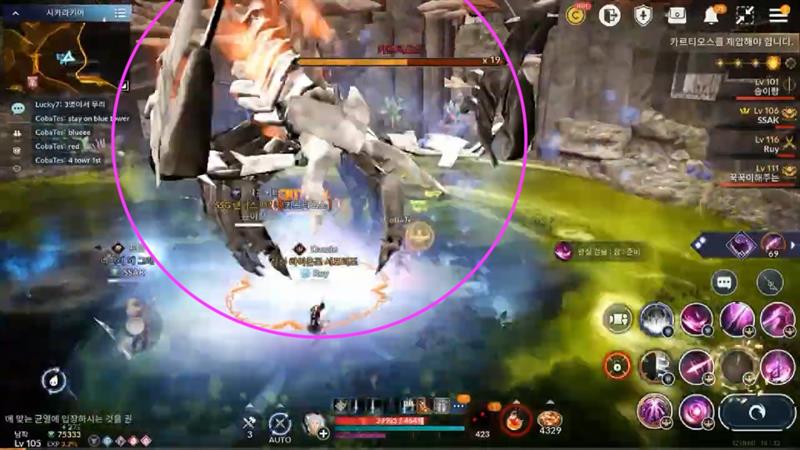
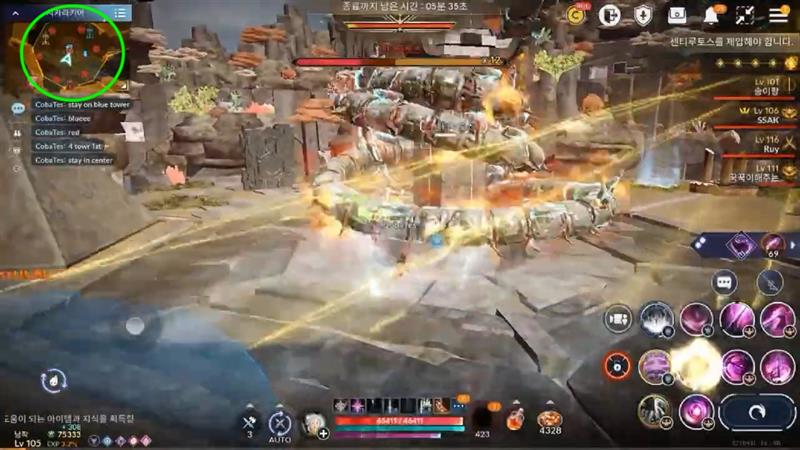
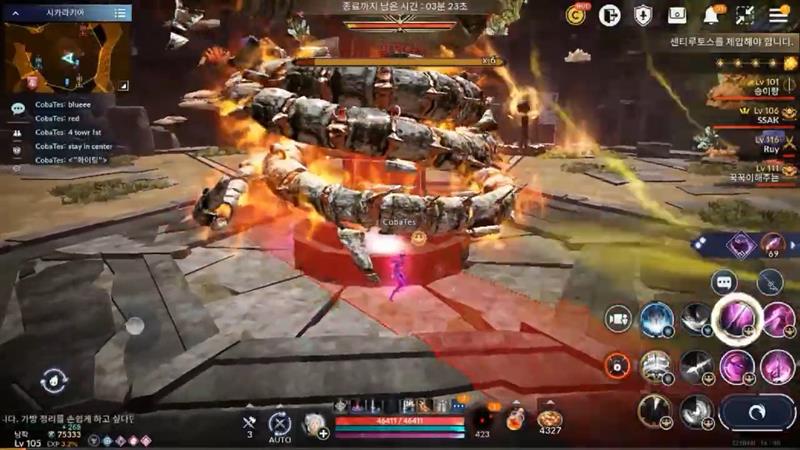
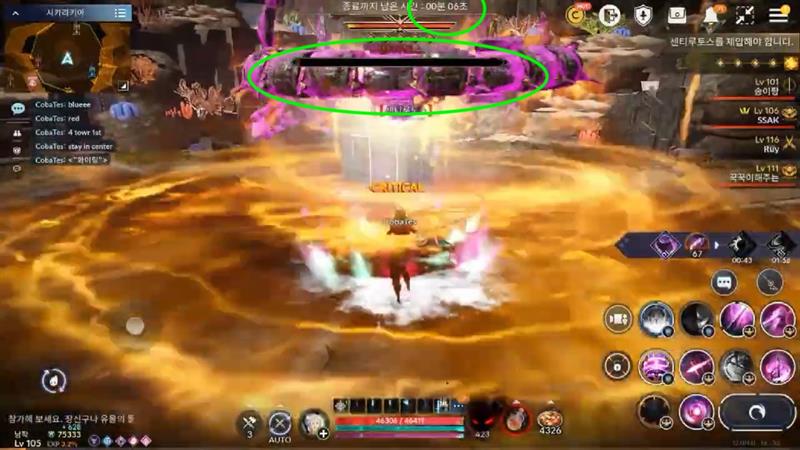
4st gate (very easy)
1 Boss + 4 Towers
the lights of the towers are gradually activated (recharge -> like batteries), it is probably necessary for you to eliminate the towers together and gradually from -> 1 -> 2 -> 3 -> 4
the question is which tower to start from (?)
1. from the tower that has the least active lights 2. from the tower that has the most active lights
personally I would proceed from the towers that have the least active lights -> the fight could be faster (?)
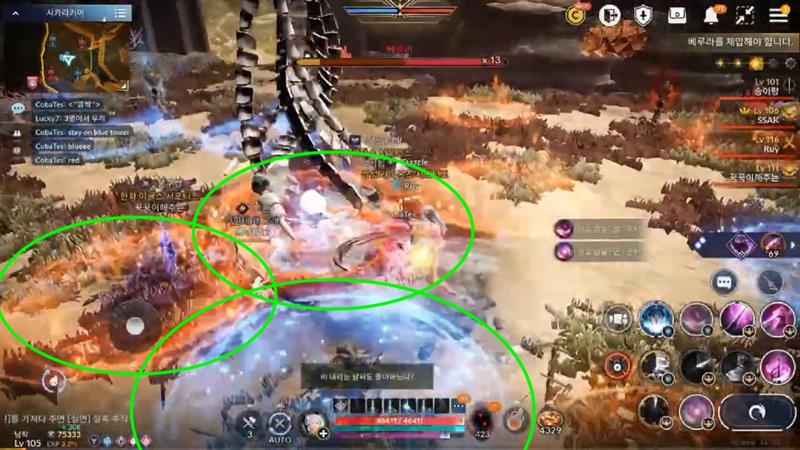
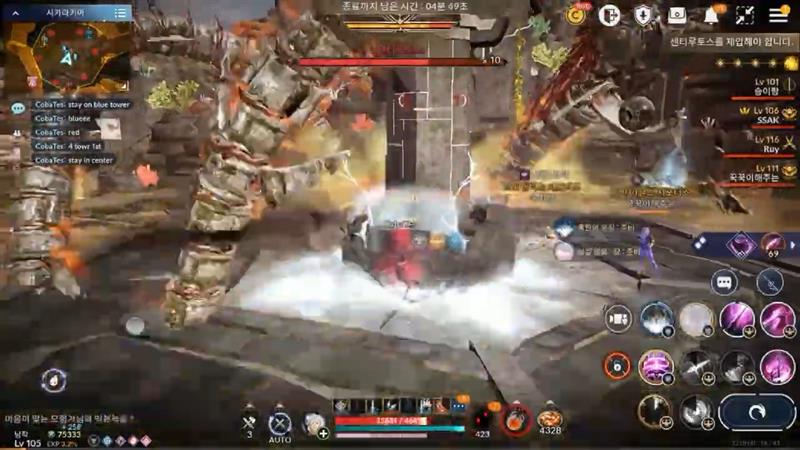
After destroying the towers, rush at the Boss with vigor,
he will jump for joy...
…do not stand under it
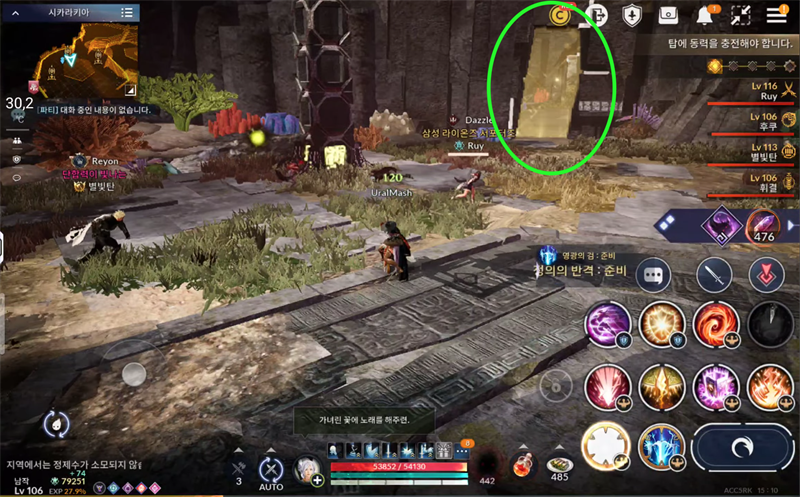
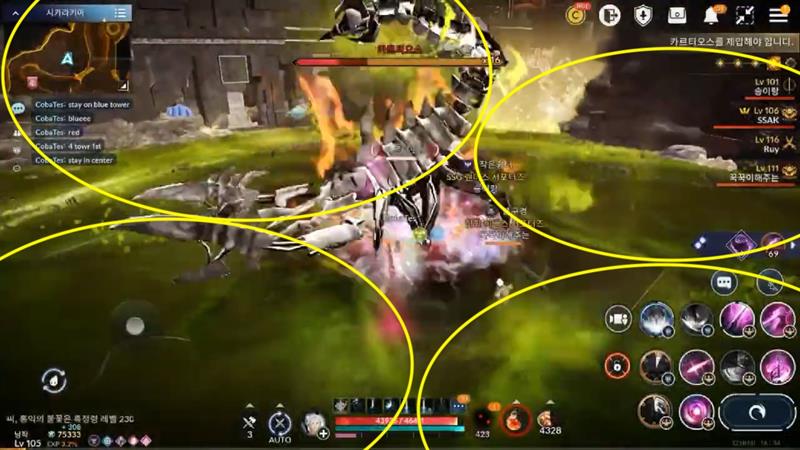
Poisoned areas create a "non-toxic" zone in the middle, shaped like a four-pointed star.
During the fight, it's probably best to stay as close to the center of the arena as possible and watch out for the Boss's jumps (landings)...
always attack from a place that is not affected by poison (greenish)
4st gate unlocks after eliminating the Boss
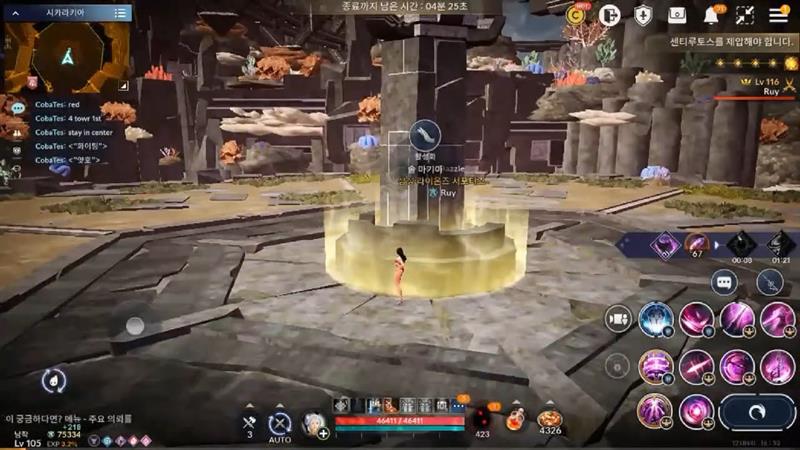
5st gate (very easy)
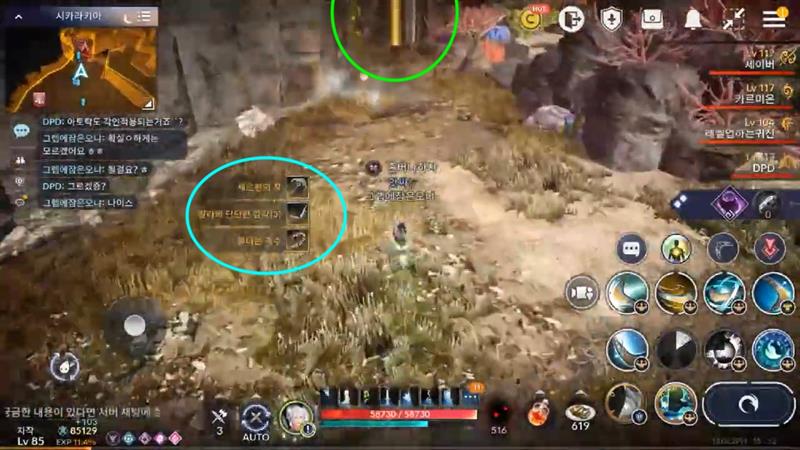
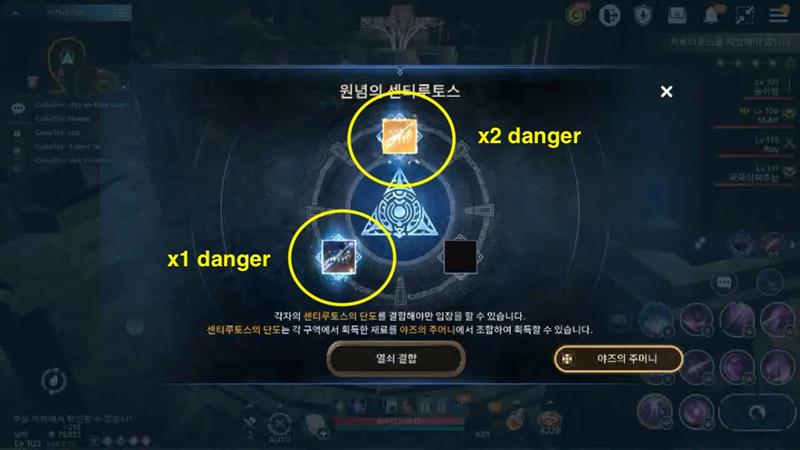
To unlock the fifth and final gate, you will need to craft the "Corrupted Dagger of Yolun" in Yaz's Pouch.
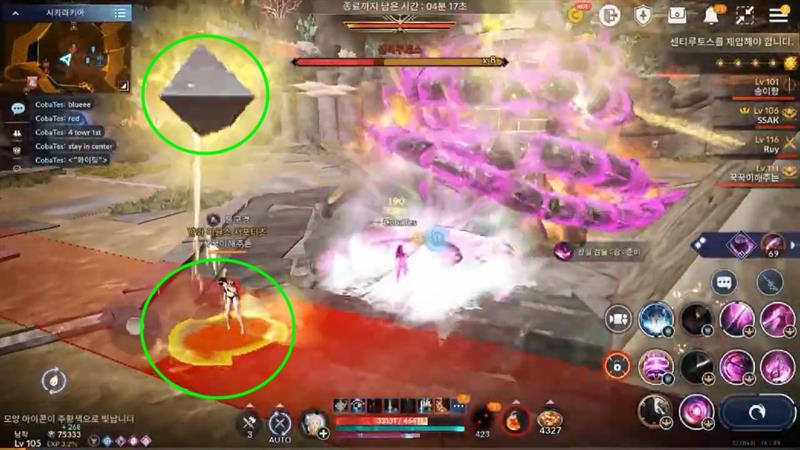
1 Boss + 3 energy sources + 3 switches (ground plates)
The strategy for activating energy pillars is simple:
Boss - Energy Sources
BLUE
+ Defense
- Attack
RED
+ Attack
- Defense
YELLOW
Attack
Defense
1. if you are mainly attacking the Boss -> REDUCE the Boss's DEFENSE as much as possible [RED]
2. if you expect the Boss's attacks to be very strong -> REDUCE the Boss's ATTACK as much as possible [BLUE]
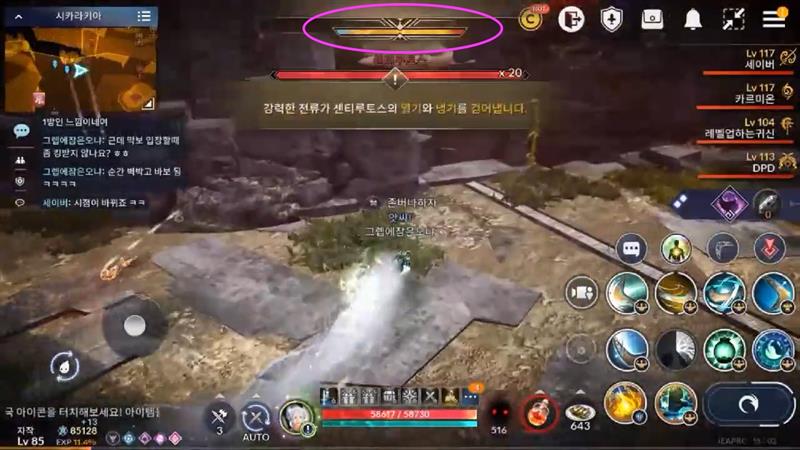
the course of the last duel
Boss is alone Lv 20 -> you fight until Boss damage Lv 14
1. if you choose to weaken Boss defense RED -> you will be a little faster
2. if you choose to weaken attack BLUE -> you will be a little slower and take less damage
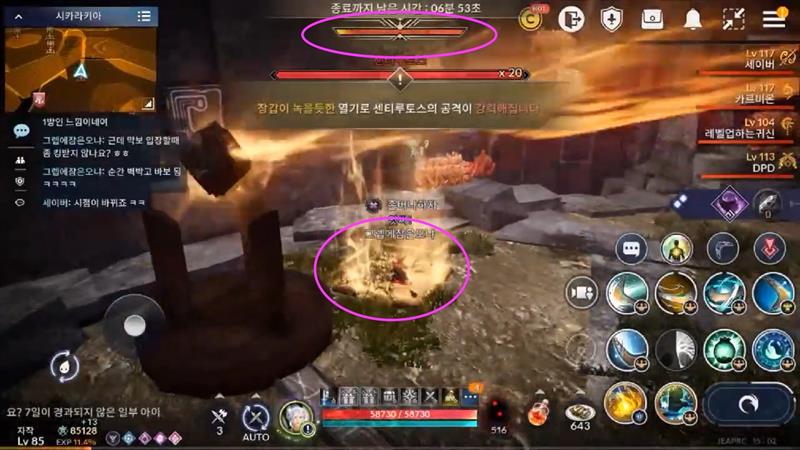
After completing the study of the Boss fight with Atoraxxion: Sycrakea I recommend activating only the red energy source -> the Boss will have weakened protection and more strength
You will deal more damage to him faster -> towards the end you may run out of time to defeat the Boss (7 minutes) if you choose the blue energy source (weakened attack and more protection)
activation plate next to the red power source
Boss damage Lv 14 -> 6 Boss protectors appear around the perimeter